Hey hey! How’s everyone doing here? It’s been a minute since I’ve posted and I’m coming back with something fun to do at home. (or not to do and hire a pro:)! We’re talking sewing today! Somewhat of a lost art but give it a try, you might find a new hobby! Little did I know that sewing barbie clothes and little outfits for myself was the initiation into my future abilities of sewing my own home decor pieces. I started on home decor pieces in college when I wanted very custom pieces but was living on the dime of a college student. Pillows, upholstery, bench cushions and custom curtain panels!

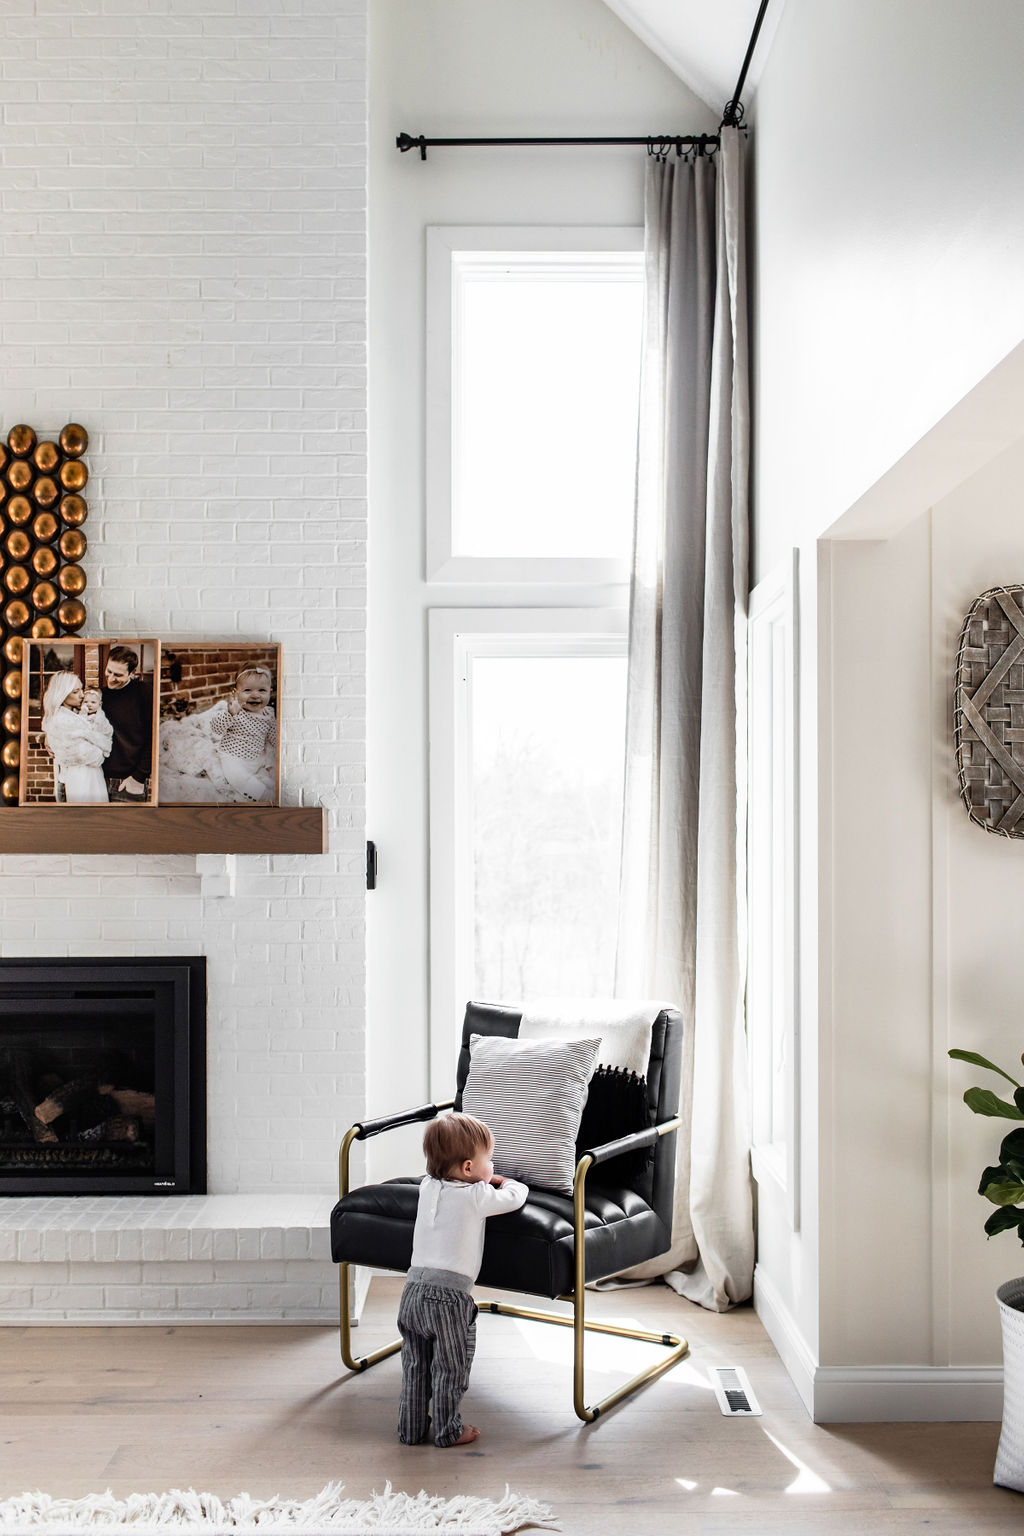
Custom window treatments can really finish off a space and since our current living room felt a bit cavernous, curtain panels were the solution. The room needed some floor to ceiling warmth and a final finishing touch that window treatments can often add to a room.
The drapes in our living room needed to be 15′ in length to hit the corners where the ceilings start to angle up. Having custom curtains of that size done by one of my upholsterers would cost a large chunk of change so I decided to DIY them and save the money for something I couldn’t do on my own!

There are many styles of curtains, categorized in one way and then down to very specific traits. These different categories and traits can create different fullness, shape and volume in the curtain. I’ll keep it simple for you and categorize these main styles by how they are attached to the curtain rod (header type):
- rod pocket
- pinch pleat
- grommet/eyelet
- tab top (shown in the image above)


Wanting to avoid the rod pocket style and eliminate some sewing time I decided to do ring clips for the panels rather than sewing individual tabs. Plus, the casual look of the rings brought an extra feeling of casualness to the otherwise luxuriously long panels.
To start: Pick out the fabric that will go best with the home. Options are endless when you do custom. Fabric can be bought at local retailers such as Joann Fabrics & Calico Corners or from retailers who sell to trades such as Holly Hunt & multiple showrooms at IMS (if you are having a pro make the curtains for you or a designer order the fabric).

Next, measure out your fabric: Cut each piece into the size you will need so you have each curtain ready to be sewn. Get your sewing machine ready and the appropriate colored thread on the spool.
Finish each edge: Do this by flipping over the un-finished edges of the curtains to the desired height and iron to create a nice fold that will hold when it is being sewn, you can also pin the edge. I added a wider bottom to my curtains and thin finished edges on the sides.
Steam or Iron: If you choose to iron your curtains, do so prior to hanging them. I prefer to steam them once they are hung but different fabrics will require different ways of eliminating wrinkles.
Attach Ring Clips: Decide how close you want the clips to be placed on the top of the curtain panel. The lighter the fabric the closer you will want to place them to avoid having drooping fabric between each clip.

Hang your custom curtain panels and your done! It’s easier than you think so give it a try but if you don’t have the desire or time, that’s fine too! Call us or your local designer and they can help guide you to getting the custom pieces you need to elevate the style and vibe of your home!

Custom Curtain Panels: DIY or Don’t
June 25, 2020
Leave a Reply Cancel reply
@ 2022 ADORNED HOMES
INFO@ADORNEDHOMES.COM
DESIGNED BY HONOR
@2022 ADORNED HOMES™ | INFO@ADORNEDHOMES.COM | Showroom By Appointment

0
Be the first to comment