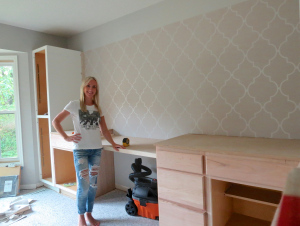
We have been working on the completion of the home office in our current reno property. We are living in this one so I need to have a fully functioning office for my real estate and renovation business! The small desk I was using in the spare bedroom wasn’t cutting it anymore soooo even though we said we were taking the summer off, this needed to be done asap!
I like to add a little flair to each room but we are coming close to our maximum budget on this house….new windows, septic system…..it all adds up quick and leaves little room for the design budget! I wanted to add wallpaper to the area behind the custom shelves but obviously needed to do this on a low budget. My sister-in-law had extra paper from a project she did and, amazingly, the color was perfect for the space!
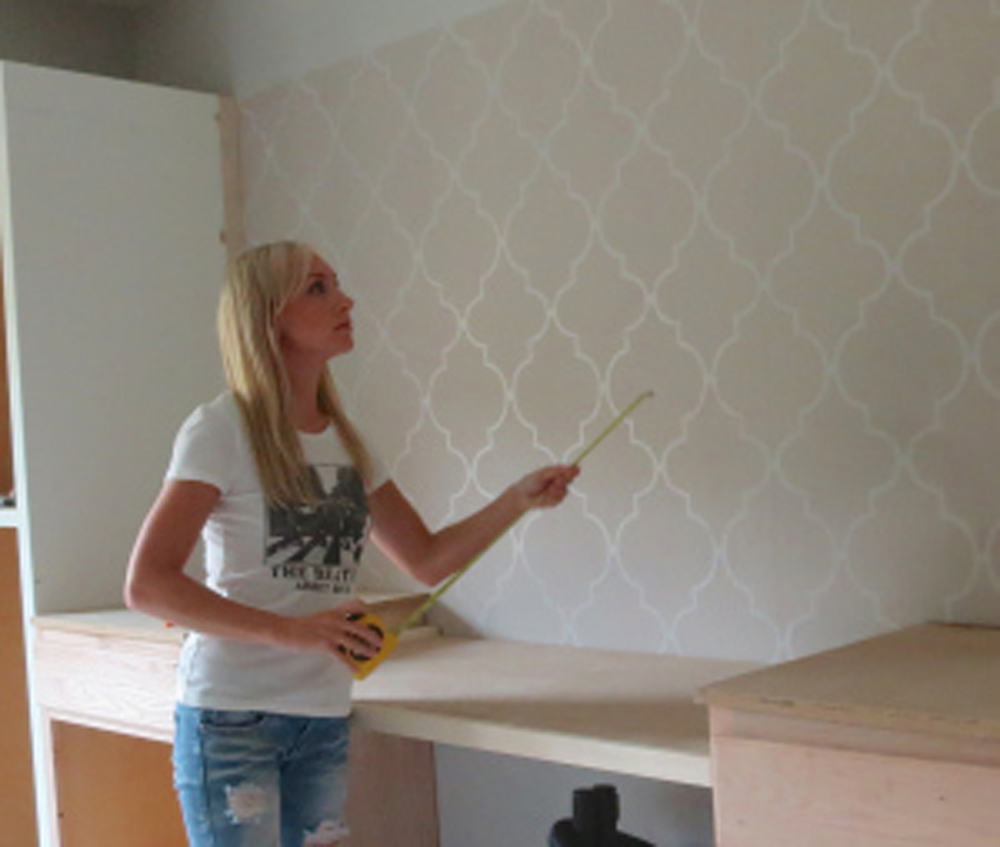
 There was one full roll and a quarter roll left. When doing wallpaper it is important to make sure you use rolls from the same dye lot. If using a different dye lot then the wallpaper can have a slightly different color that varies by roll. When it is put on the wall next to each other you’ll be able to see the difference! I opted to use the full roll in order to make sure it was all uniform. Prior to wetting the wallpaper and hanging it on the wall, I cut each piece so I could move fast once I started. It is important to match up the pattern prior to cutting each piece and measure twice! Measure twice, cut once! You also want to mark a plumb line on the wall, this will help guide you on placing the paper straight.
Once you have each piece cut you can wet the paper by soaking it in a bathtub filled with water (there is pre-pasted, removable and unpasted walloper, each type is different so follow the specific product directions on the package). This paper was pre pasted and required you to wet it for 30 seconds then fold each end onto each other for 5 minutes allowing the adhesive to soak.
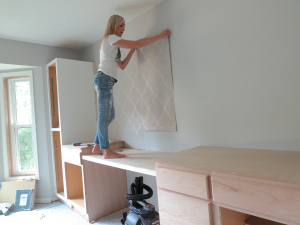
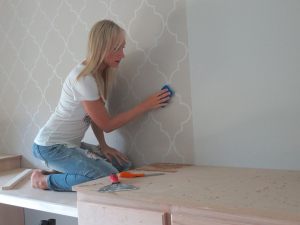
Once you are ready to hang, follow your plumb line to be sure your pattern will be straight. If there is excess at the top or bottom, cut it with a razor making sure you are cutting straight! Smooth out the bubbles with a wide straight edge and wipe excess glue with a sponge. Before you know it, you’ll be done! Wallpaper makes such a huge statement you’ll be happy you did it!
Wallpaper Wednesday!
September 2, 2015
Leave a Reply Cancel reply
@ 2022 ADORNED HOMES
INFO@ADORNEDHOMES.COM
DESIGNED BY HONOR
@2022 ADORNED HOMES™ | INFO@ADORNEDHOMES.COM | Showroom By Appointment


0
Be the first to comment